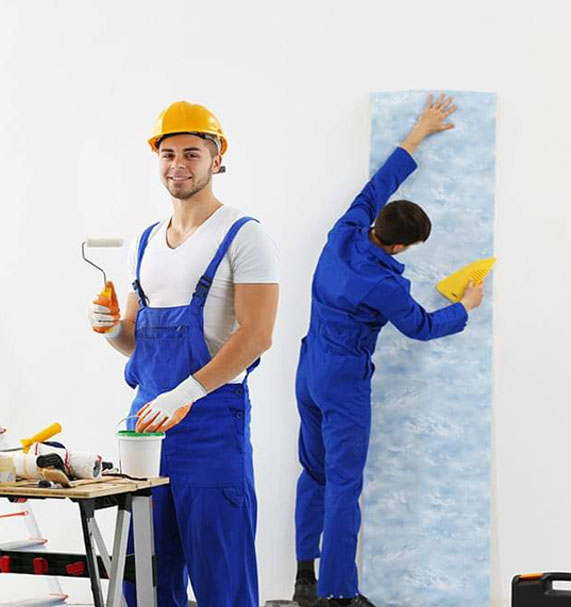
wallpaper can be a satisfying DIY project that can quickly transform the look and feel of a room. Here's a general guide on how to fix wallpaper:
Wallpaper Fixing Work
Wallpaper Fixing Work
Preparation:
Gather Supplies: You'll need wallpaper adhesive, a smoothing tool (such as a wallpaper brush or plastic smoother), a utility knife or scissors, a sponge, a bucket of water, a tape measure, and a pencil.
Prepare the Surface: Ensure that the wall surface is clean, smooth, and free from dust, grease, and any loose paint or wallpaper. If necessary, sand rough areas and patch any holes or imperfections.
2. Measuring and Cutting:
Measure the Wall: Use a tape measure to determine the height and width of the wall. Add a few inches to each dimension to allow for trimming.
Cut the Wallpaper: Roll out the wallpaper on a clean, flat surface. Use the measurements to cut the wallpaper to the appropriate size, adding a few extra inches at the top and bottom for adjustments.
3. Applying Adhesive:
Prepare the Adhesive: Follow the manufacturer's instructions to prepare the wallpaper adhesive. Typically, you'll mix the adhesive with water in a bucket to the consistency recommended by the manufacturer.
Apply Adhesive to the Wallpaper: Use a paintbrush or roller to apply a thin, even layer of adhesive to the back of the wallpaper. Be sure to cover the entire surface, paying special attention to the edges.

4. Hanging the Wallpaper:
Aligning the First Sheet: Start at one corner of the wall and carefully align the top edge of the wallpaper with the ceiling or crown molding, leaving a small overlap.
Smooth Out Air Bubbles: Use a smoothing tool to gently press the wallpaper against the wall, working from the center outwards to remove any air bubbles or wrinkles.
Trim Excess: Once the first sheet is in place, use a utility knife or scissors to trim any excess wallpaper at the top and bottom edges. Be sure to use a straight edge for clean cuts.
Repeat the Process: Continue hanging additional sheets of wallpaper, aligning the edges carefully and smoothing out any bubbles or wrinkles as you go. Be sure to match the pattern if applicable.
5. Finishing Touches:
Clean Up: Use a damp sponge to wipe away any excess adhesive from the surface of the wallpaper and trim.
Allow to Dry: Let the wallpaper dry completely according to the manufacturer's instructions before moving furniture back into place or making any further adjustments.
Following these steps should help you successfully fix wallpaper in your space. If you're unsure or inexperienced, consider practicing on a small area first or seeking guidance from a professional.

