Tiling floors and walls can be a challenging but rewarding home improvement project. Here's a step-by-step guide to help you through the process:
Floor And Wall Tiling Works
Floor And Wall Tiling Works
1. Planning and Preparation:
- • Measurements: Measure the area you plan to tile carefully to determine the quantity of tiles needed. Consider adding 10% to your order to account for waste and cutting.
- • Tile Selection: Choose the type, size, color, and pattern of tiles that best suit your space and design preferences. Consider factors such as durability, moisture resistance, and ease of maintenance.
- • Surface Preparation: Ensure that the floor or wall surface is clean, smooth, and free from dust, grease, and any loose material. Repair any cracks, holes, or imperfections, and allow the surface to dry completely.
2. Gathering Supplies:
- • Tiles: Purchase enough tiles for the project, as well as additional materials such as spacers, grout, adhesive, and sealer.
- • Tools: Gather the necessary tools for tiling, including a tile cutter, notched trowel, grout float, level, tape measure, sponge, bucket, and safety equipment (gloves, goggles, knee pads).

3. Installation:
- • Mixing Adhesive: Follow the manufacturer's instructions to mix the tile adhesive to the proper consistency.
- • Applying Adhesive: Use a notched trowel to apply a thin, even layer of adhesive to the surface. Work in small sections to prevent the adhesive from drying out.
For Floor Tiling:
- • Starting Point: Begin tiling from the center of the room or at a focal point, using a chalk line to create reference lines for alignment.
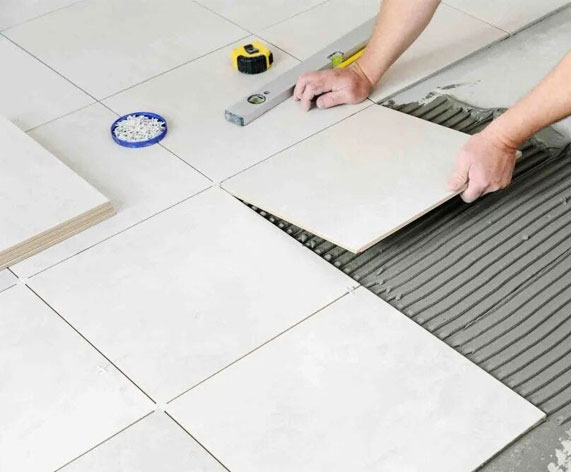
- • Laying Tiles: Press each tile firmly into the adhesive, using spacers to maintain consistent spacing between tiles. Check periodically with a level to ensure that the tiles are even and aligned.
For Wall Tiling:
- • Starting Point:Start tiling at the bottom of the wall and work your way up. Use a ledger board to support the first row of tiles and ensure a straight, level installation.
- • Laying Tiles: : Apply adhesive to the wall in small sections and press each tile firmly into place, using spacers to maintain uniform spacing. Adjust as needed to ensure level alignment.
4. Grouting:
- • Mixing Grout: Mix the grout according to the manufacturer's instructions, ensuring a smooth, lump-free consistency.
- • Applying Grout: Use a grout float to apply grout to the tile joints, pressing firmly to ensure full coverage. Work in small sections and remove excess grout with a damp sponge before it dries.
5. Finishing Touches:
- • Sealing (if applicable): Apply a tile sealer to protect the grout and tiles from moisture, stains, and damage. Follow the manufacturer's instructions for application and drying times.
- • Cleaning: Clean any remaining grout haze from the surface of the tiles with a clean, damp sponge. Allow the grout to cure fully before walking on the tiled surface or applying any weight.
Following these steps should help you successfully tile your floors and walls. If you're unsure or inexperienced, consider practicing on a small area first or seeking guidance from a professional.

