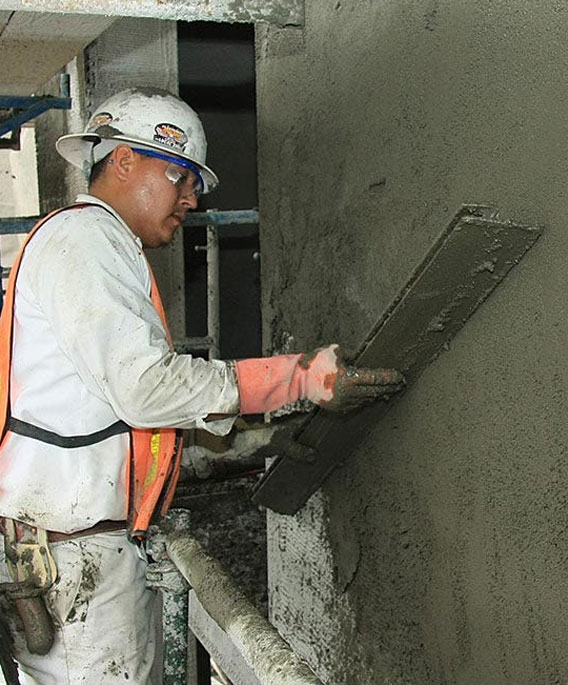
Plastering is a skilled trade that involves applying a smooth, durable finish to walls and ceilings. Here's a basic guide to plastering:
Plaster Works
Plaster Works
1. Preparation:
- • Surface Preparation: Ensure that the surface to be plastered is clean, dry, and free from dust, grease, and loose material. Repair any cracks, holes, or imperfections with patching compound or plaster repair mix.
- • Protective Measures: Cover floors, furniture, and any adjacent surfaces with drop cloths or plastic sheeting to protect them from plaster splatter and drips.
2. Mixing Plaster:
- • Choosing Plaster: Select the appropriate type of plaster for your project, such as gypsum plaster or lime plaster, based on the surface and desired finish.
- • Mixing Ratio: Follow the manufacturer's instructions to mix the plaster with water to the proper consistency. Use a clean bucket and mixing paddle to ensure a smooth, lump-free mixture.
3. Applying Plaster:
- • Base Coat: Start by applying a base coat of plaster, also known as a scratch coat or brown coat, to the surface using a plastering trowel. Work in small sections, applying the plaster evenly and to the desired thickness.
- • Scratching: Once the base coat is applied, use a scratch comb or scarifier to create horizontal grooves or scratches in the surface. This helps the next coat of plaster adhere more securely.
- • Second Coat: Apply a second coat of plaster, known as the skim coat or finishing coat, over the scratched base coat. Use a plastering trowel to spread the plaster evenly and achieve a smooth, uniform finish.
- • Feathering: Feather the edges of the plaster to blend them seamlessly with the surrounding surface. Use a light touch and smooth, sweeping motions to achieve a gradual transition.

4. Finishing:
- • Smoothing: Once the plaster has begun to set but is still slightly damp, use a plastering float or wet sponge to smooth the surface and remove any imperfections or blemishes.
- • Drying Time: Allow the plaster to dry completely according to the manufacturer's instructions before applying any further coats or finishes. This typically takes at least 24 hours.
- • Sanding (if necessary): If the surface is not perfectly smooth after drying, sand it lightly with fine-grit sandpaper to achieve the desired finish.
5. Additional Steps (Optional):
- • Texturing: If desired, you can add texture to the plaster using techniques such as stippling, combing, or sponging.
- • Painting or Sealing: Once the plaster is fully dry and cured, you can paint it with a suitable paint or seal it with a clear coat to protect the surface and enhance its appearance.
Plastering requires practice and patience to master, so don't be discouraged if your first attempts aren't perfect. Start with small projects and gradually build your skills over time. If you're unsure or inexperienced, consider seeking guidance from a professional plasterer.

