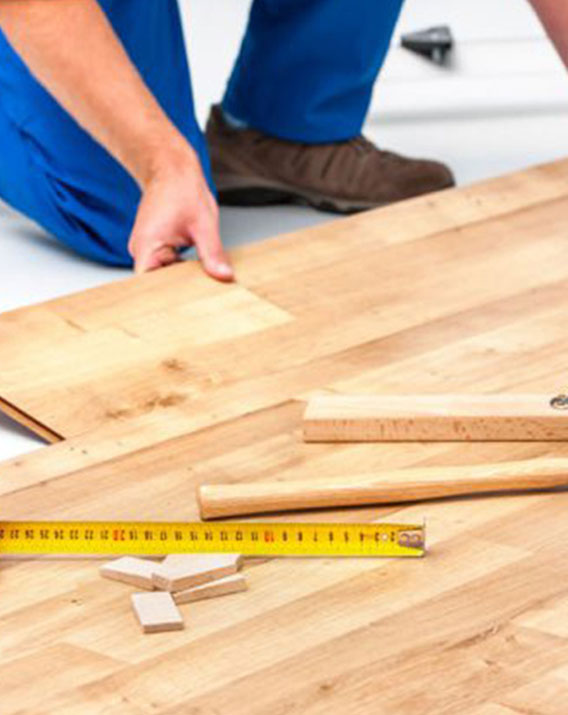
Carpentry and wood flooring work can add warmth, beauty, and value to a space. Here's a general guide to carpentry and wood flooring installation:
Carpentry And Wood Flooring Work
Carpentry And Wood Flooring Work
1. Planning and Preparation:
- • Measurements and Materials: Measure the area where the wood flooring will be installed to determine the quantity of materials needed. Choose the type of wood flooring (solid hardwood, engineered wood, laminate) based on your budget, style preferences, and environmental factors.
- • Acclimation: Allow the wood flooring materials to acclimate to the indoor environment for at least 48 hours before installation. This helps prevent warping or buckling later on.
2. Subfloor Preparation:
- • Subfloor Inspection: Inspect the subfloor for flatness, moisture levels, and structural integrity. Make any necessary repairs or adjustments to ensure a smooth, stable surface for the wood flooring.
- • Moisture Barrier: Install a moisture barrier, such as a plastic vapor barrier or roofing felt, over the subfloor to protect the wood flooring from moisture and humidity.
3. Wood Flooring Installation:
- • Layout Planning: Plan the layout of the wood flooring to achieve the desired pattern and minimize waste. Consider factors such as the direction of the wood grain, the location of doorways, and the presence of obstacles or transitions.
- • Starting Point: Begin installation from the longest, straightest wall in the room, typically the exterior wall. Use spacers along the edges to maintain expansion gaps.
- • Installation Method: Depending on the type of wood flooring chosen, you may use techniques such as nail-down, glue-down, or floating installation. Follow the manufacturer's instructions and best practices for your chosen method.
- • Cutting and Fitting: Cut the wood flooring boards to size using a miter saw or circular saw as needed to fit around obstacles, corners, and door frames.
- • Securing: Secure the wood flooring boards in place using the appropriate method (nails, adhesive, or interlocking mechanisms) and ensure tight, consistent joints between boards.

4. Finishing Touches:
- • Trim Installation: Install baseboards, quarter round, or other trim along the edges of the wood flooring to cover expansion gaps and create a finished look.
- • Transition Installation: Install transition strips or moldings where the wood flooring meets other types of flooring (e.g., tile, carpet) to create a smooth transition and protect the edges of the wood.
- • Sanding and Finishing (if applicable): If installing unfinished wood flooring, sand the surface smooth and apply a protective finish such as polyurethane or wax according to the manufacturer's instructions.
5. Maintenance:
- • Regular Cleaning: Maintain the wood flooring by sweeping, vacuuming, or dry mopping regularly to remove dirt, dust, and debris.
- • Preventive Maintenance: Use furniture pads or felt protectors on the legs of furniture to prevent scratches and dents. Place rugs or mats in high-traffic areas to minimize wear.
- • Refinishing (as needed): Over time, wood flooring may become scratched, worn, or faded. Consider refinishing the surface by sanding away the old finish and applying a new coat of sealant or finish for renewed beauty and protection.
By following these steps and techniques, you can achieve a professional-quality wood flooring installation that enhances the appearance and functionality of your space. If you're unsure or inexperienced, consider hiring a professional carpenter or flooring installer for assistance.

